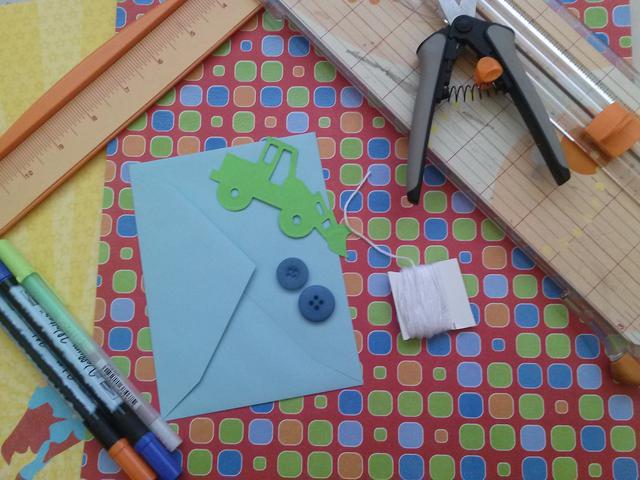
Supplies and Materials:
-8 1/2"x11" printed cardstock
-A2 envelope (4 3/8"x5 3/4")
-3 1/4"x4 1/2" cardstock
-Tractor (or truck, car, etc) die cut, smaller than 2"
-2 Buttons tied with thread
-5" Ribbon, approximately 3/8" wide
-2 Brads
-Adhesive
-3D paint or glitter glue (optional)
Fold your larger piece of cardstock in half to make the base of your card. It's best to choose a printed cardstock that has a white or lighter side for the inside of your card. I used paper from the Diecuts with A View Grade School Paper Stack.
Adhere your ribbon about 1/4" from the bottom edge of the smaller cardstock rectangle, folding and gluing the ends under the paper. Add a brad at each end of the ribbon. (Tip: Use the pointed end of your double ended stylus to poke a small hole to poke the brad through, so it doesn't grab and pull the strings in your ribbon!)
Attach the die cut so it appears to be driving across the ribbon. Glue the buttons (wheels) to the die cut and add the rectangle to the front of the card. Use a sentiment stamp or markers to write a note or sentiment on the inside of the card.
Optional: Use 3D paint to add a name, "Happy Birthday" or any other sentiment to the ribbon on the front of the card.
You might
also enjoy...
DIY Tractor Time Card
This bright, fun card is perfect for the future farmer or any lil' guy on your list! Cause let's face it, what little boy Doesn't love tractors?!
Disclaimer: Please note that some of the links in this post may be affiliate links or ads. There is no additional cost to you, but The Scrap Room will earn a small commission should you choose to purchase through those links. Click here for my full disclaimer. Thank you for your support.

