You might
also enjoy...
Craft Your Own Fun: A DIY Guide to Board Game Brilliance
From Concept to Conquest, Unleash Your Creativity on the Tabletop!
Welcome, fellow adventurers of the analog realm! In a world dominated by digital distractions, there's something undeniably magical about gathering around a table, rolling dice, and diving into the immersive world of a board game.
But why settle for store-bought entertainment when you can unleash your creativity and craft your own tabletop masterpiece? In this tutorial, we'll embark on a journey through the realms of imagination, where cardboard and creativity collide to bring forth your very own DIY board game. So grab your supplies, roll up your sleeves, and let's embark on a quest to create something truly extraordinary!
If you enjoyed my tutorial or found value in it, I'd appreciate it if you gave it a little love on social media!
Disclaimer: Please note that some of the links in this post may be affiliate links or ads. There is no additional cost to you, but The Scrap Room will earn a small commission should you choose to purchase through those links. Click here for my full disclaimer. Thank you for your support.
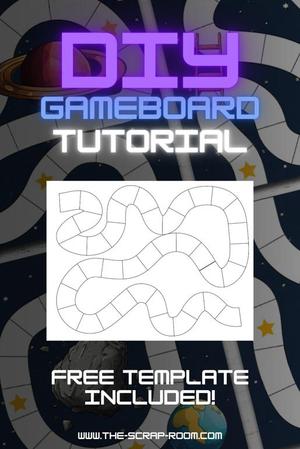
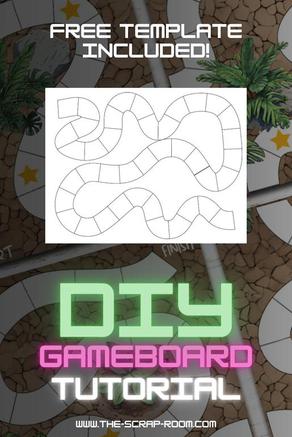
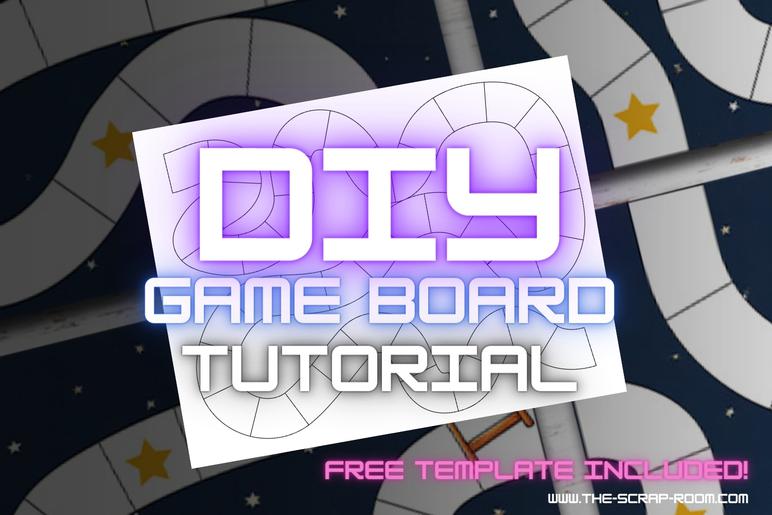
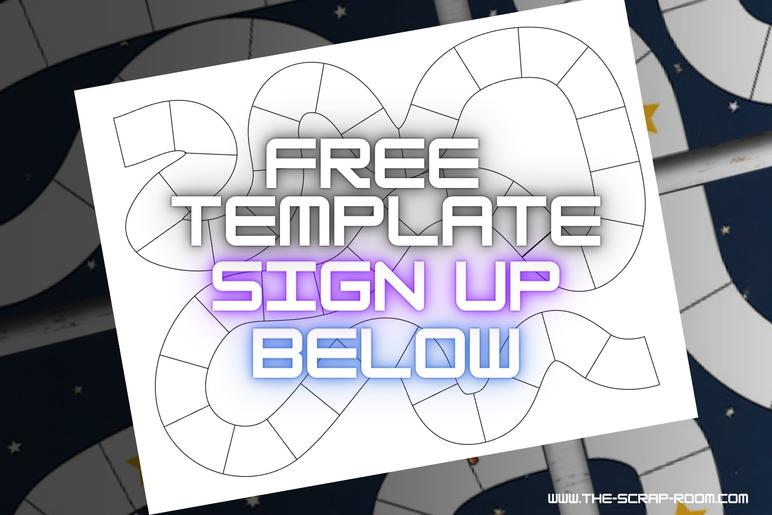
Before we delve into the nitty-gritty details, I've got an exclusive treat for you. Sign up for my email list, and I'll send you a game board template straight to your inbox. With this template, you'll have the foundation you need to kickstart your DIY board game adventure. Whether you're a seasoned game designer or a newcomer to the craft, this template will serve as your blank canvas for boundless creativity.
If you're hungry for more game designs, look no further. In my shop, you'll find a treasure trove of board game designs, including sleek 1-page layouts and expansive 4-page designs perfectly suited for my favorite Apostrophe Games 17"x17" blank boards. (Want to get your hands on one of these versatile boards? Simply click the link to check out them out! They even include a nice box to store your finished game and pieces in.)
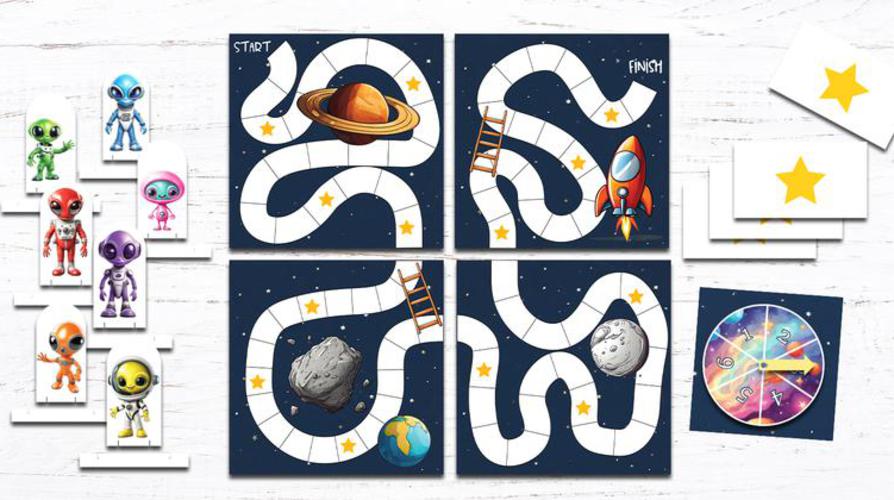
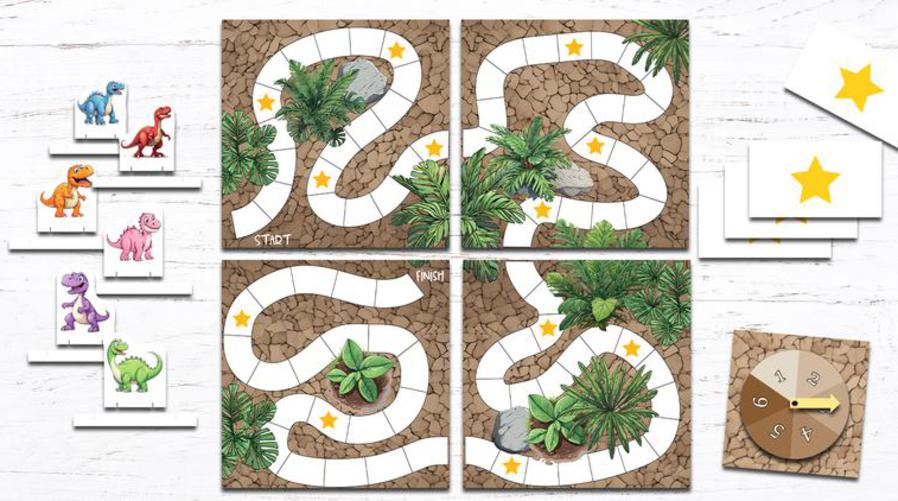
Now, let's talk themes real quick. The beauty of DIY board games lies in the endless possibilities for customization. Whether you're exploring the depths of space or journeying back in time to the age of dinosaurs, the choice is yours.
So take some time and think on it, and come up with a theme that's perfect for you and your fellow gamers.
Then decide, do you want to decorate your game board digitally or would you prefer the traditional route?
With digital design tools like Canva.com's free online design program at your disposal, you can create intricate game elements and decorate printable game board designs digitally with ease!
After your game board is ready to print, print it out on adhesive-backed paper for a polished finish and add it to your game board. If you choose to embrace the traditional approach with markers, paints, or crayons for a personal touch, now's the time!
If you're using a template that includes cut files (like the freebie I shared above) then you can even use a compatible craft cutting machine to cut out the pieces and add them to your game board that way!
As far as game boards go, if you're on a tight budget, you can always use cardboard. Cardboard and masking tape for a multi sectional board. If you're doing a multi sectional game board, make sure you tape the edges of your cardboard together when the pieces are in the position to be folded closed. If you try to lay all the sections out flat you risk taping the pieces too tight, and your game won't fold closed, or you could tape it too loose, giving you extra large gaps between sections. If you stack to pieces together how you would be folding it up, and tape the edge, you'll have the perfect amount of space so your game will fold up nicely.
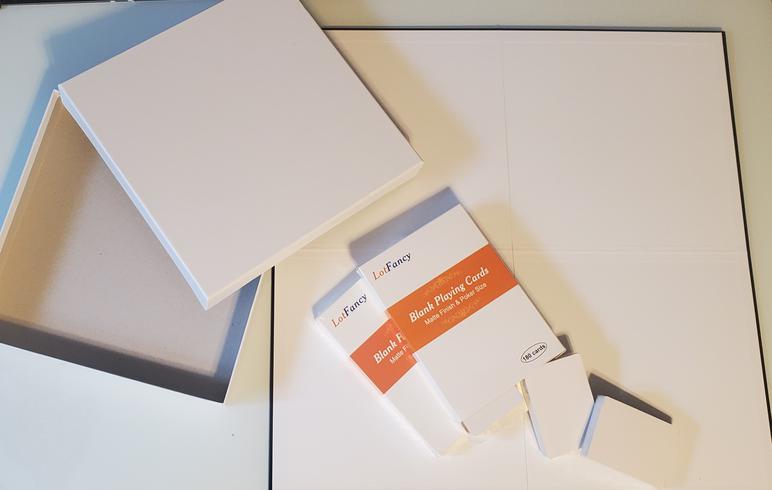
Game boards (bases anyway) can be a little tricky though, so if you have it in the budget to upgrade the cardboard, I'd really recommend an Apostrophe brand blank DIY game board. I've used this 17"x17" board to make several games and was happy with it each time! If you're making one of my 4 section game board designs, this 17"x17" blank board is the one I recommend. Lay the board flat, unfolded, and add each printed page so they meet at the center of the board, leaving a small boarder all the way around the game.
Another thing I always splurge on is the cards, if my game requires cards. You can easily cut them yourself from paper, but I like to buy blank playing cards. I feel like they just have a nicer texture and stiffness to them. This is the link the ones that I use. (And they're standard poker sized cards, so they're great for making DIY decks of playing cards too!) ;)
When it comes to game play, you'll need a way to determine how many spaces each player should move each turn. Here are a few of my favorite:
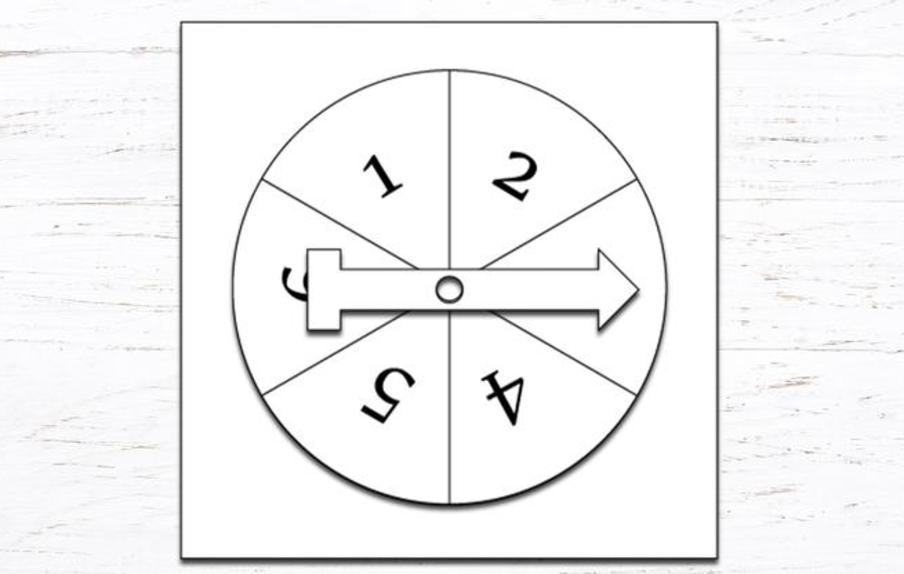
Game Spinner: This one is my favorite. No dice or cards to loose, just a simple spinner wheel that points to a number. If you get a blank design, you can even decorate it to match your game! I have several different template options in my shop with a variety of spaces, depending on how fast or slow you want your game to go.
Dice: Dice are great! ...until one rolls away and gets lost, or you need the gameplay to be a little more quiet (baby sleeping nearby?). If you're planning to play with dice, maybe have a few extra on hand. You could make your own dice if you want with tiny wooden blocks and a pen, wood burning tool, etc, or even try your hand at some resin dice.
Cards with Colors or Designs: Another option for moving your player pieces is using cards with colors or designs that match spaces on the board. Players draw a card at the beginning of their turn and move to the next matching space. This can be a lot of fun! With this option you can even make a few "special" spaces that can make people jump around the board even more.
Your choice of determining player movement might depend on the game you've designed, and any of the options are great!
You could use all kinds of things as your player pieces, like rocks, tiny trinkets, or upcycled chess pieces painted in fun colors, or you could create your own using heavy cardstock.
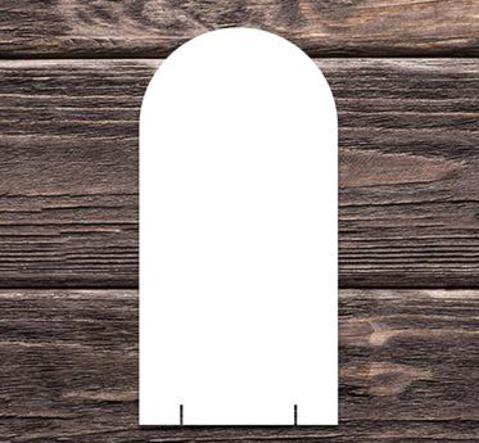
This template (to the left) is available in my Etsy shop, here, and is great for making your own digital designs to print and cut, or cut and decorate by hand. You can even let players make their own!
Cut out the rounded player piece design or trim your edge to fit your DIY character, then fold the base piece in half and slip it into the slits at the base of the player piece. If you're using heavy cardstock and don't add heavy embellishments to it, it will stand up great. But be careful of adding bulky decorations that could weigh it down too much. This part of the project works best with crayons, colored pencils or markers.
Once you've decided on a theme, and all the elements you're going to use, it's time to put it all together!
Some things to keep in mind:
If you're using a folding board, the board needs to be able to fold shut and/or fit in a box of some kind. I know that seems like a silly reminder, but even things like too many layers of vinyl stickers, rhinestones or buttons...pretty much anything that isn't ink, crayon, pencil or paint is going to add thickness that might impede folding up the board or fitting it in a box. (And even the paint is going to add some thickness!) If you're not sure about an embellishment, just try it. Place it on the board and see if it folds up okay.
Let everything dry 100% before you fold up your game. The last thing you want is to spend time making a lovely game...then have it stick shut and rip apart when you try to open and use it. Be patience before you use it or put it away. Make sure it's completely dry.
A box. You're going to need something to store the pieces of the game in. I love the Apostrophe Games blank board I mentioned above. It comes in a nice storage box that holds a fair amount of stuff.
Don't forget about the outside of the box. I mean, it's fine to leave it plain white...but wouldn't it be so much more fun to decorate. ;)
So, what are you waiting for? Dust off your imagination, gather your supplies, and let's get crafting! Whether you're designing a game for family game night or dreaming up the next tabletop sensation, there's no limit to what you can create!
Getting Started: The Basics
Before diving into the creative process, it's essential to understand the basic components of a board game. Typically, a board game consists of:
Game Board: The central playing area where all the action unfolds.
Player Pieces: Tokens or figurines representing players on the board.
Game Cards: Cards that players draw from or play during the game.
Dice or Spinner: Tools for determining movement or outcomes within the game.
Rules: Clear instructions outlining how to play the game.
Once you've grasped these fundamental elements, it's time to let your imagination run wild and start brainstorming ideas for your DIY board game.
The DIY Board Game Mega Bundle: Your Ultimate Companion
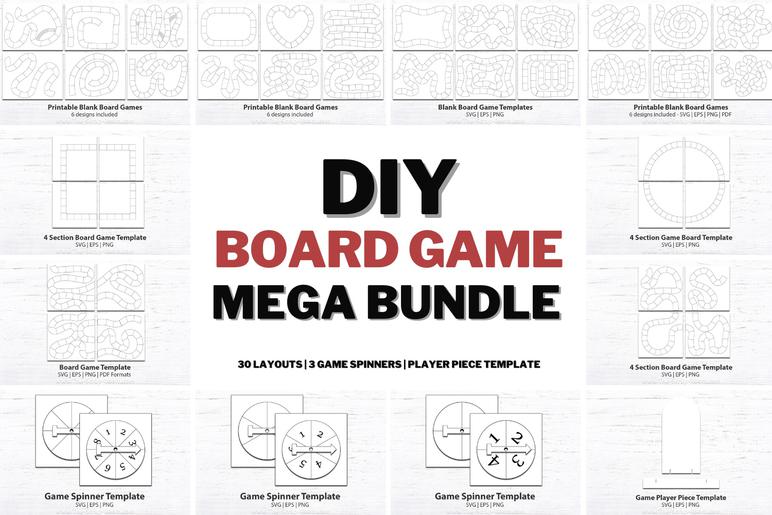
To really kickstart your DIY board game journey, consider adding the DIY Board Game Mega bundle to your collection. This comprehensive bundle includes 30 different board game template designs, ranging from simple 1-page designs to larger 4-page layouts.
The DIY Board Game Mega bundle also features a blank player piece template so you can design your own players to move around the board, and 6 different game spinner designs, giving you the flexibility to customize your game to suit your preferences. Whether you prefer fast-paced action or a more leisurely gaming experience, this bundle has you covered.
Unleash Your Creativity
There's a lot of freedom when it comes to designing your own game, but here are a few basic steps that sum it up:
Theme Development: Choose a theme that resonates with you and build your game around it. Whether it's outer space adventures, medieval quests, or culinary conquests, the possibilities are endless.
Innovative Mechanics: Experiment with different game mechanics to keep players engaged and challenged. From resource management to cooperative gameplay, don't be afraid to think outside the box.
Personalization: Add a personal touch to your game by incorporating inside jokes, references to shared experiences, or custom artwork. This not only makes the game more enjoyable but also creates a unique bonding experience for players.
Prototype and Playtest: Once you've developed your game concept, create a prototype (even if it's just sketched out on paper) and play around with it to make sure everything flows smoothly. If you want, gather friends and family for a playtest session to fine-tune the gameplay and iron out any kinks.
Improve and Create: Make necessary adjustments, and create your new game!

