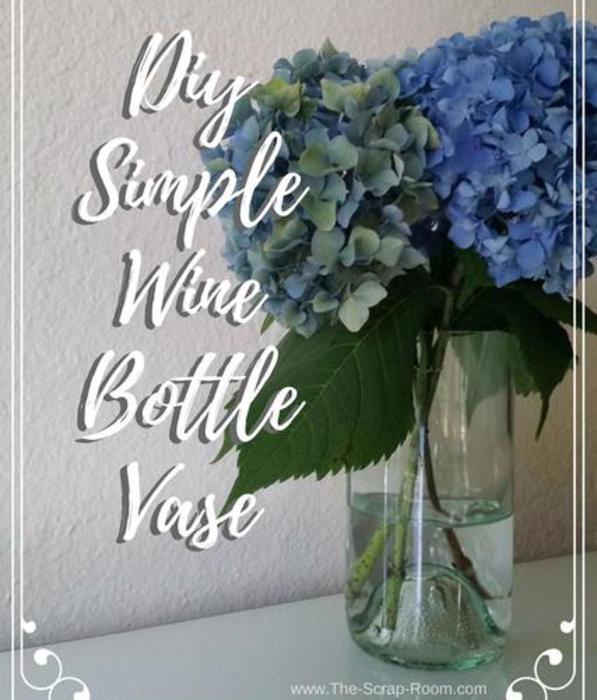
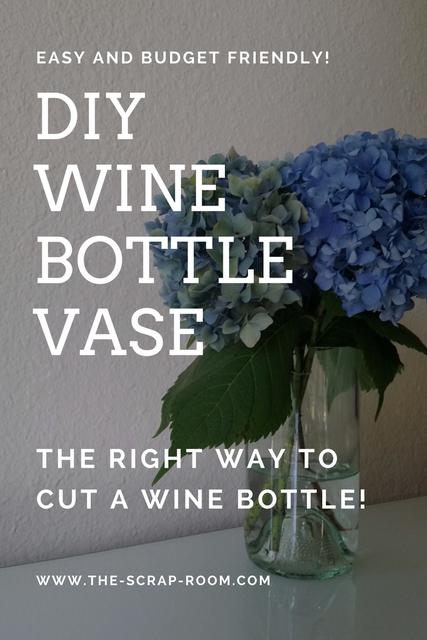
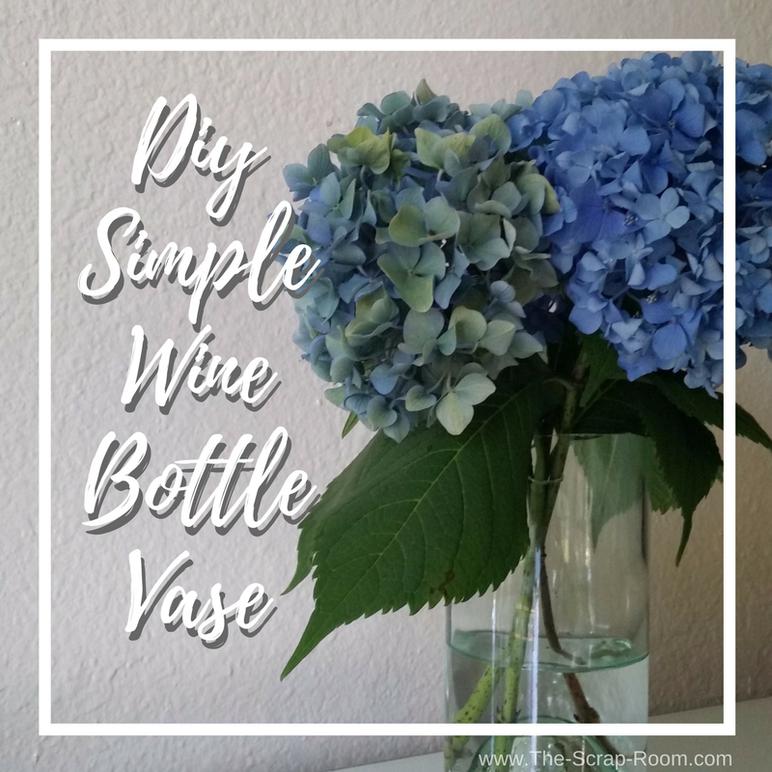
Create this simple vase from an upcycled wine bottle! Fill with fresh flowers to decorate your own home or share with a friend!
This easy tutorial will have you saving all your wine bottles! My challenge to you, for sharing this free project with you, is to make one, fill it with flowers, and share it with a neighbor! This project is so budget friendly, you won't need an "occasion" for it!
If you enjoyed our tutorial or found value in it, we'd love it if you'd give us a thumbs up or a share on Facebook or Pinterest!
For this project you will need:
-Empty wine bottles, *labels removed
-Protective eye-wear (Just in case! Please don't skip this step!)
-Adhesive backed Sandpaper and an old mailing box
I'd wanted to tackle this project for literally, years, but didn't because of the imaginary price tag on it in my head. I assumed buying a bottle cutter would be expensive and I didn't even know where to start looking for one. So I didn't.
I tried all sorts of Pinterest pins on hacks for cutting these things. (Such as the old soaking string in nail polish remover, wrapping it around the bottle and burning it, then dunking it in buckets of water...) I spent HOURS tweaking my methods and trying new things until I finally just gave up. It was way easier for me to work for, and just buy, a brand new vase.
Finally I decided to look into things a little further, and since I get practically everything else for my life on Amazon.com, figured I would just start there.
"Glass Bottle Cutter".
That's all I typed in, and was instantly provided with SO MANY OPTIONS! After reading the views on many, I finally settled on the APGtek Long Glass Bottle Cutter. I've used this one quite a bit now (50+ bottles) and really like it. If you buy a different one, make sure you read the product details closely! There are a lot of glass bottle cutters that are designed for smaller bottles, such as beer. (These are probably great too! And some day I'll probably buy one that cuts smaller bottles, but I'm more of a wine drinker, so I specifically wanted the larger model.) ;)
Disclaimer: Please note that some of the links in this post are affiliate links. There is no additional cost to you, but The Scrap Room will earn a small commission should you choose to purchase through those links. Thank you for helping support our business!
Begin by removing the labels off the bottle. You can do this by soaking them in hot soapy water for about 10-15 minutes and scraping them off. If you're using a "special" bottle, and want to preserve the label, try giving the bottle a couple of coats of Mod-podge and let dry completely. For the water part of this project, you'll want to use the "bucket" method to keep the label out of the water, so make sure where you plan to cut is at least an inch or two above the sticker.
Always wear protective eye-wear when cutting glass!!!
Glass is tricky to cut and it may take you a couple practice rounds to get it down. Adjust the guide on the bottle cutter to the height you want, and set the bottle in place. Apply even pressure to cut ONE continuous line around the bottle. You don't need to push very hard. In fact, you don't want to! You want to create an even score line, not cut the bottle in two. Don't go back and forth, or retrace where you've already been. This will create hairline cracks that can give you a jagged edged top, or worse, break your entire bottle in the next step, so be very careful! Just create one singe, scored line.
Once you have your scored line, you'll need to alternately expose the crack to hot and cold water to expand and contract the glass. If you're doing several bottles, or trying to preserve the label, you'll want to use the bucket method. If you're just doing 1 or a few bottles, I've found it can use less water just doing it in the sink with a slow stream of water.
Once your bottle has broken into two pieces, it's very easy to cut yourself on the sharp edges so be very careful! Sand the edges down with some sandpaper in an old mailing box. I use an 80 grit, adhesive backed sanding disc, and just adhere it to the bottom of the box . That way, any tiny glass fragments are contained. Watch the video tutorial on this page to see this in action! (Please shake the box out into the trash well before breaking down to recycle!)
And that's it! It's really that simple! What a great way to upcycle and use your old wine bottles! I love how budget friendly it is too. I've definitely gotten my $20 out of the bottle cutter that's for sure! And it's allowed me to share flowers on more occasions than I otherwise would have! How often do you stop by the store and spend $30 on a small bouquet of flowers for someone for no reason? I'd bet not too often! But if you have some pretty flowers in your yard you can add, a wine bottle vase makes the perfect free gift to give for no reason at all! You can even paint or etch the bottle to give it a custom design! (But be aware, not all wine bottles work great with etching cream. More times than not, it's worked fine for me, but of Course, when I went to film this tutorial, it wouldn't stick to the bottle I used to save my life! So after trying 3 times, I finally gave up and removed that clip from the video. Next time! lol!)
You might
also enjoy...
If you enjoyed my tutorial or found value in it, I'd appreciate it if you gave it a little love on social media!
The Sink Method (WATER CONSERVATION WAY! Please use this way if you can!)
I've found I can use very little water by just doing it in my kitchen sink. (Plus I like not having to "hold" the bottle during the process. I'm a weenie.) First of all, heat up a couple cups of hot water on the stove or in the microwave. Seriously. You don't need "buckets" of water for this! I use my 2 cup Pyrex measuring cup to heat up 1 cup of water in the microwave -- and I usually only use about half of that per bottle! I also use cold tap water, Not icy water as many tutorials I originally tried to follow on Pinterest suggest. I just haven't had a great success rate with ice. I do better (and it's even less work) with plain old, cold tap water. I'm not sure why, but when I use ice, my bottle breaks in a more chaotic line. It breaks more on my score when the temperature change isn't quite that drastic.
Set your bottle in the sink and pour a steady stream of cold water right onto the cut line. Make sure it is heavy enough to cascade down the sides of the bottle and underneath, completely covering the line. You need your crack to break evenly and if you only pour it on part of the line, it won't! Once you've poured about 1/4 cup or so, switch to the hot water, and do the same thing, completely dowsing the scored line. Repeat the process a few times until the bottle breaks. You may hear a "crack" sound when this happens. You will be able to see your line grow each time you change the water temperature, and it won't take long! If it takes more than a couple of minutes, your hot water is probably too cold! I can cut a bottle using less than 2 cups of water in under a minute, so please don't waste a ton of water and fill your sink or buckets, unless you're trying to save a special label!
The Bucket Method: (I don't like this method as much, but if you need to preserve a label on the bottle or you're making them in mass for a party, wedding, etc, this is the easiest way!)
Use two buckets for this method, one with cold water (no ice needed - just your coldest tap water, and the other with very hot, almost, boiling water. (*Note: You may need to add some ice to Keep the water cold if it sits too long.) Fill them both with enough water that you can dip the wine bottle into it and submerge the scored line. Dip the wine bottle back and forth, from the cold and hot buckets until the bottle breaks and gravity pulls the broken off end down into the water. (It shouldn't explode or anything like that. So you don't need to fearfully stand back while you "dip" like I did) ;)
