You might
also enjoy...
Get Perfect Cuts Every Time: Why Every Paper Crafter Needs a Brayer for Their Cutting Machine
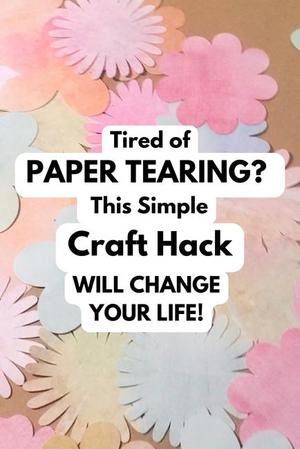
Tired of Wasted Paper and Messy Cuts? This Simple Tool is a Game-Changer!
Disclaimer: Please note that some of the links in this post may be affiliate links or ads. There is no additional cost to you, but The Scrap Room will earn a small commission should you choose to purchase through those links. Click here for my full disclaimer. Thank you for your support.
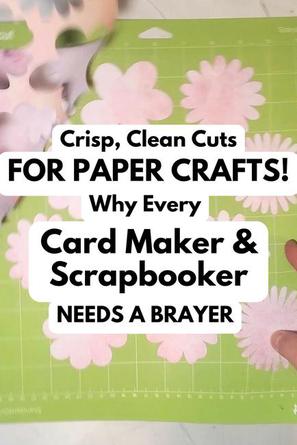

The Benefits of Using a Brayer for Paper Crafting
🌟 Flawless Cuts Every Time – A brayer helps your material adhere smoothly, preventing shifting and ensuring crisp, clean cuts. No more jagged edges or incomplete cuts!
📜 Extends the Life of Your Cutting Mat – Instead of using your hands (which can add oils and uneven pressure), a brayer gently presses materials onto your mat without over-stretching or damaging the adhesive.
🕒 Saves Time & Reduces Waste – No more re-cutting or tossing ruined materials! Using a brayer helps you get perfect results on the first try, saving both time and money.
✂️ Works on More Than Just Paper – A brayer is great for adhering vinyl, fabric, and other materials to your cutting mat, making it a must-have for all types of die-cutting projects!


If you’ve ever used an electronic cutting machine like a Cricut or Silhouette, you know the frustration of paper shifting mid-cut, edges tearing, or intricate designs not cutting cleanly. It’s enough to make any scrapbooker, card maker, or DIY crafter want to throw in the (craft) towel! But before you waste another sheet of cardstock, there’s a simple, inexpensive tool that can completely transform your cutting results—a brayer!


What is a Brayer and Why Does It Matter?
A brayer is a rolling tool designed to press materials firmly and evenly onto a surface. While it’s commonly used in printmaking, it’s also one of the best-kept secrets in the world of die-cutting and paper crafts! When you use a brayer to press your cardstock, vinyl, or other materials onto your cutting mat, you eliminate air bubbles, ensure full contact, and create a perfectly flat surface for your machine to cut.
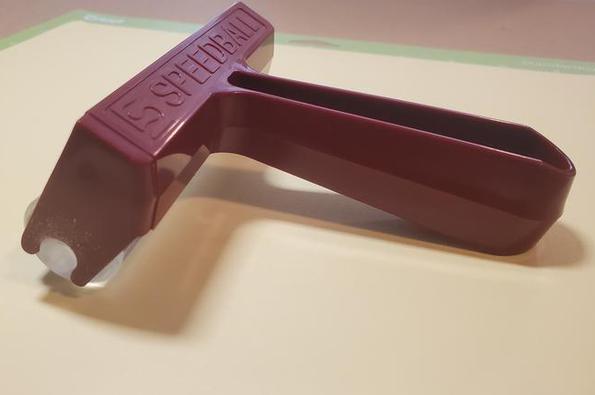
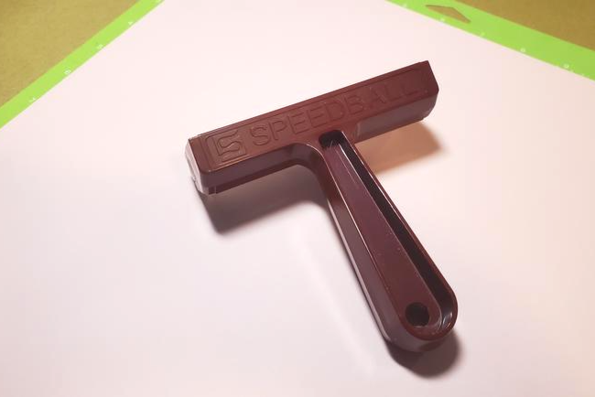
My Favorite Brayer for Die-Cutting & Paper Crafts
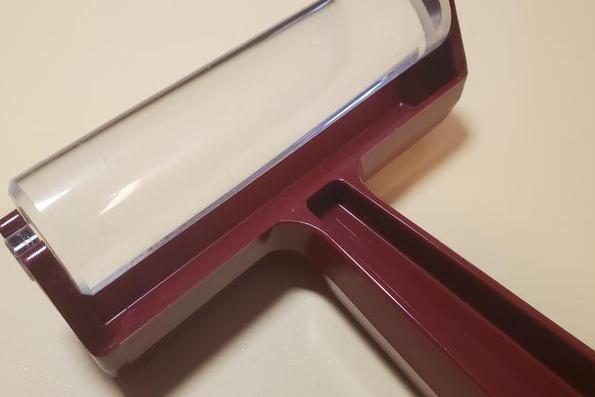
I personally use the Speedball Pop-in 4" Roller Brayer with the Acrylic Roller, and I absolutely love it! It's REALLY IMPORTANT to get one that doesn't have a SEAM. I can't express this enough. If you buy a cheap brayer that has a seam, you're literally going to be pressing a seam into your paper -- and it will show! The Speedball acrylic roller is smooth and firm, making it perfect for pressing cardstock and vinyl onto my cutting mat. It's my #1 choice, and go-to brayer whenever I'm paper crafting.
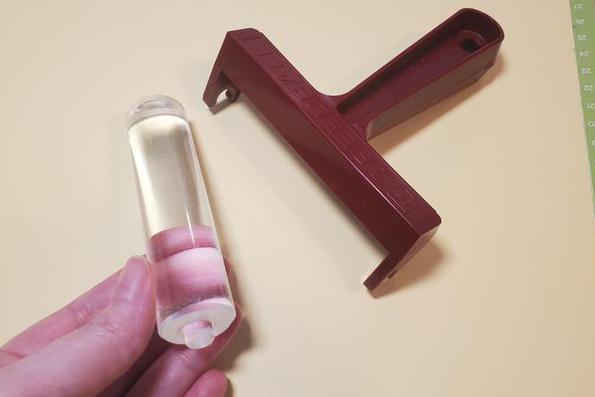
I highly recommend the Speedball Brayer Kit, which comes with four interchangeable rollers:
-Foam Roller – Perfect for adding ink or paint to backgrounds for handmade cards and mixed media projects.
-Rubber Roller – Great for printmaking, stamping, or creating texture on gel plates.
-Hard Rubber Roller – Ideal for pressing heavy-weight cardstock or textured materials onto your cutting mat.
-Acrylic Roller – My go-to for die-cutting! Works beautifully for securing paper to mats and ensuring perfect cuts.
What Kind of Projects Can a Brayer Help With?
✅ Intricate Paper Die Cuts – From delicate lace designs to detailed floral embellishments, a brayer ensures your paper stays put for precise cuts.
✅ Layered Scrapbook Titles & Elements – Press down layers of cardstock evenly for stunning, professional-looking scrapbook pages.
✅ Pop-Up & 3D Paper Crafts – Perfect for making sure every fold, crease, and intricate detail is cut cleanly.
✅ Sticker & Decal Making – Smooth out printable sticker paper or adhesive vinyl for crisp and accurate cutting.
✅ Handmade Greeting Cards – Whether you're working with layered designs or custom cutouts, a brayer helps keep everything perfectly in place.
A Small Investment That Saves You Big!
Adding a brayer to your craft tool collection is one of the best ways to improve your cutting results while saving money on materials. Think of all the wasted paper, vinyl, and frustration you’ll avoid by getting perfect cuts every time! Plus, with a versatile brayer kit, you’ll have a tool that works for so many different creative projects—making it a smart, budget-friendly investment for any paper crafter.
If you don’t already have a brayer, I highly recommend giving this 4-in-1 Speedball Brayer Kit a try. You’ll be amazed at the difference it makes! Happy crafting!
Other Important Tips for Getting the Best Results with Your Electronic Craft Cutting Machine
If you want to get the cleanest, most precise cuts with your electronic cutting machine, a brayer isn’t the only tool that can help! Keeping your cutting mat clean and sticky is a game changer—dust and tiny paper fibers can cause your materials to shift, leading to jagged cuts. Did you know you can wash your mat with warm water, a soft sponge and a little mild soap when it starts to lose its grip? Let it air dry completely, and it’ll regain some of its stickiness!
Another must-do for better cuts is making sure your cutting blade is sharp. A dull blade can tear delicate paper, leave rough edges, or even fail to cut through intricate designs, especially on cardstock and vinyl. If you notice your machine struggling or snagging, it might be time to swap in a fresh blade. Combining these simple habits with a brayer will keep your cuts crisp, clean, and frustration-free! ✂️✨