Hand-Carved Stamps: Create Your Own Custom Rubber Stamps
Learn how to design, transfer, and carve unique rubber stamps with easy step-by-step tutorials—perfect for adding a personal touch to your paper crafts, cards, and DIY projects.
If you enjoyed my tutorial or found value in it, I'd appreciate it if you gave it a little love on social media!
Disclaimer: Please note that some of the links in this post may be affiliate links or ads. There is no additional cost to you, but The Scrap Room will earn a small commission should you choose to purchase through those links. Click here for my full disclaimer. Thank you for your support.


Discover the art of stamp carving with our step-by-step tutorials! Hand-carved rubber stamps are a fantastic way to add a personal touch to your paper crafts, scrapbooks, greeting cards, and DIY gift wrap. Whether you’re a beginner or looking to refine your skills, our tutorials will guide you through the process—from printing and transferring your design onto a rubber carving block to using basic carving tools to create detailed, custom stamps.
With just a few simple tools, you can design and carve your own unique stamps for endless creative possibilities. Experiment with different designs, patterns, and techniques to create stunning handmade embellishments for your craft projects. Ready to start carving? Click on one of the tutorials below and bring your ideas to life!


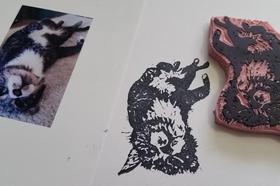
Learn how to go from digital photo or graphic, to hand-carved stamp with this complete, step by step tutorial. Includes a time-lapse of the entire carve!
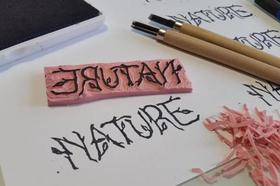
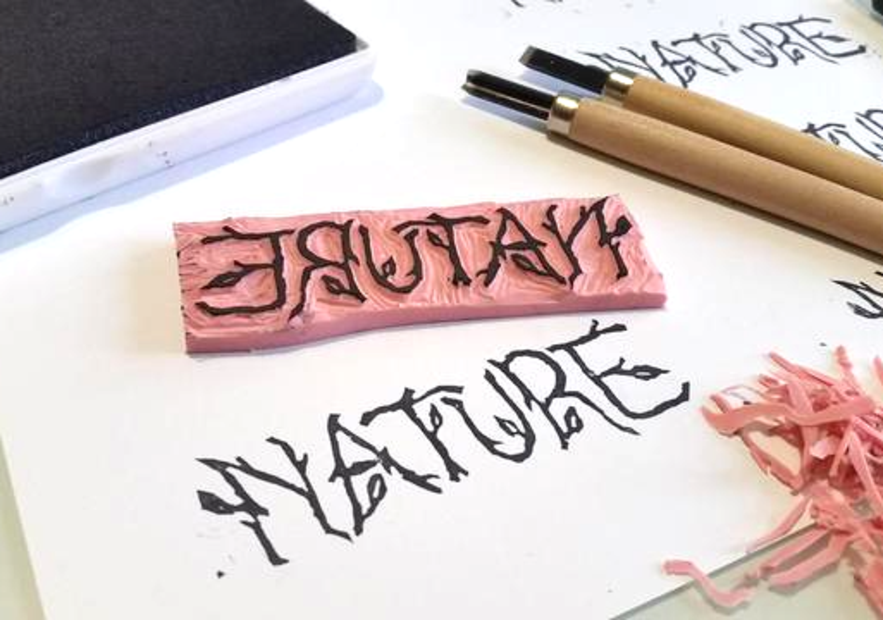
This tutorial will teach you some of the basics. Learn about some of the tools, materials and transfers used in stamp carving. Several examples included!