You might
also enjoy...
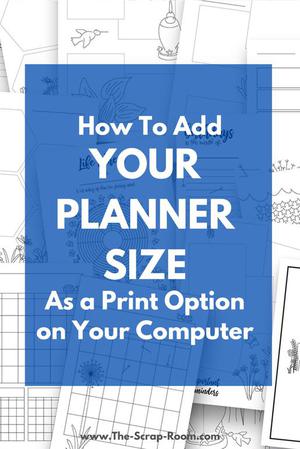
How to Print Your Planner Pages to Fit Any Size Planner
Print Anything To Fit In Your Planner With A Few Easy Clicks!
If you enjoyed my tutorial or found value in it, I'd appreciate it if you gave it a little love on social media!
Disclaimer: Please note that some of the links in this post may be affiliate links or ads. There is no additional cost to you, but The Scrap Room will earn a small commission should you choose to purchase through those links. Click here for my full disclaimer. Thank you for your support.


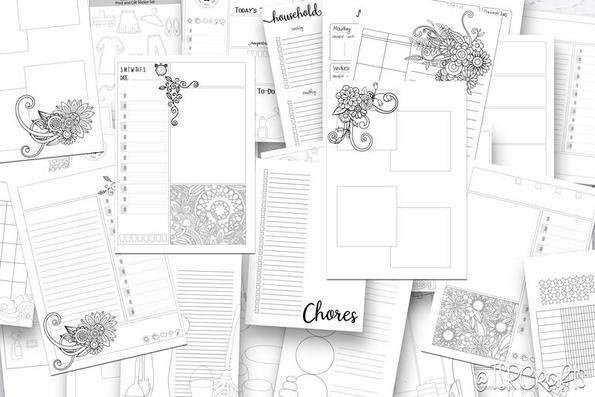

Printing planner pages to perfectly fit your specific planner size is easier than you might think! With just a few steps, you can customize the settings on your computer and print beautiful, perfectly-sized pages every time. Here's a quick guide to help you get started:
First, you'll just need to open the PDF in a PDF friendly program, and select print. Next choose the size of paper you're printing on, and select the "FIT TO PAGE" option which may be under the "borders" section or tab. If you don't see your print size listed, you may need to actually add that size as an option to your printer settings before you can print this way.
Don't worry, it's easy. :)
To do that, you'll want to go into the "Devices and Printers" option for your computer.
Click one time on your printer icon to select your printer, then look up top under the main menu bar and click on the "Print Server Properties" option.
That will pop up a window that shows you the "forms" (or print sizes) available on your computer. Type in a new name, such as "My Planner", then customize the page dimensions to fit. Click "okay" at the bottom to save. Now, from your pdf friendly programs on your computer, you'll easily be able to select that new option as a print size!
To adjust the sizing to fit, now you'll just need to open the PDF in your PDF friendly program, select print, choose your "My Planner" print option (or whatever you labeled it as) and then choose the "FIT TO PAGE" option under the "borders" section or tab, like I mentioned earlier.
Once you have added it as a print option, it's a piece of cake to print anything to fit that size!
Tips for Smooth Printing
-If you don’t see the "FIT TO PAGE" option, it might be located under a different tab depending on your printer model. Look for terms like “scaling” or “borders.”
-If the program you're using to print has an alignment option in the print settings, select "centered". (Most programs will do this automatically for you.)
-Always double-check your paper orientation (portrait or landscape) before printing to avoid cutting off important details.
Customizing your planner pages to the perfect size for your planner is a simple yet impactful way to enhance your planning experience. By adding your planner’s specific dimensions as a print option in your computer’s settings, you can avoid the hassle of resizing and ensure that every page fits perfectly in your binder or planner cover. With this easy adjustment, you can save time, reduce waste, and create a more seamless, personalized planner setup. Happy printing and planning!